MeritMade Commentary - So, you want to be a maker, eh?

Author: Terra Butler

Kelly is a maker, through and through. While metalsmithing is how you know her, this woman is CONSTANTLY making a range of crafts and mediums. Her wedding thank you notes were handmade, featuring a carved stamp of her and her husband. She has been knitting the same gold shawl with the tiniest yarn for at least 7 years. She built the table that is centrally located in our studio where we gather for workshops. She welded the steel displays that we use at shows, loves any excuse to gift wrap, and has started and has completed multiple quilts. I could brag on her for a long time.

kelly in studio.jpg

To say Kelly loves to work with her hands is a massive understatement. When we meet people at shows or in workshops, they often express a wish to be a maker of some sort. She is immediately excited and encouraging. If you haven' been privy to one of her gushing recommendations to use your hands,  I give to you Kelly’s tips to becoming a maker. Enjoy!

  • Find something you love to make. What do you want to create or improve? Many people are drawn to specific types of materials. Perhaps getting your hands dirty is an important component or maybe you absolutely must work from home. Before you get started, it is smart to consider what sorts of things are important to you. For example, if you hate computers, maybe robotics shouldn't be your thing.

  • Get educated. There are so many workshops, in-person class, online videos, and educational resources out there. Searching YouTube is a great way to get started. When you are ready to pay for education, sites like Craftsy (www.craftsy.com) do a great job of providing a more thorough online education for a small investment. Don’t forget about your local guilds, clubs, libraries and schools. Often these places are wonderful for learning. If you want to learn metalsmithing directly from Kelly head to Alloy Metalsmithing. Merit Made’s sister company where you can learn directly from Kelly and her team. There’s something for everyone at Alloy Metalsmithing. From beginner metalsmithing classes, to fun make and take workshops, DIY wedding band workshops, to an on going bench membership for the serious metalsmither. Workshops are available to the public as well as the option to schedule private workshops for your friends and family. Private lessons are available too! Whether for fun or to start a serious hobby or business venture, Kelly and the Alloy Metalsmithing team are there to guide you through the process and show you the ropes. Head to the Alloy Metalsmithing page to sign up for your first experience!

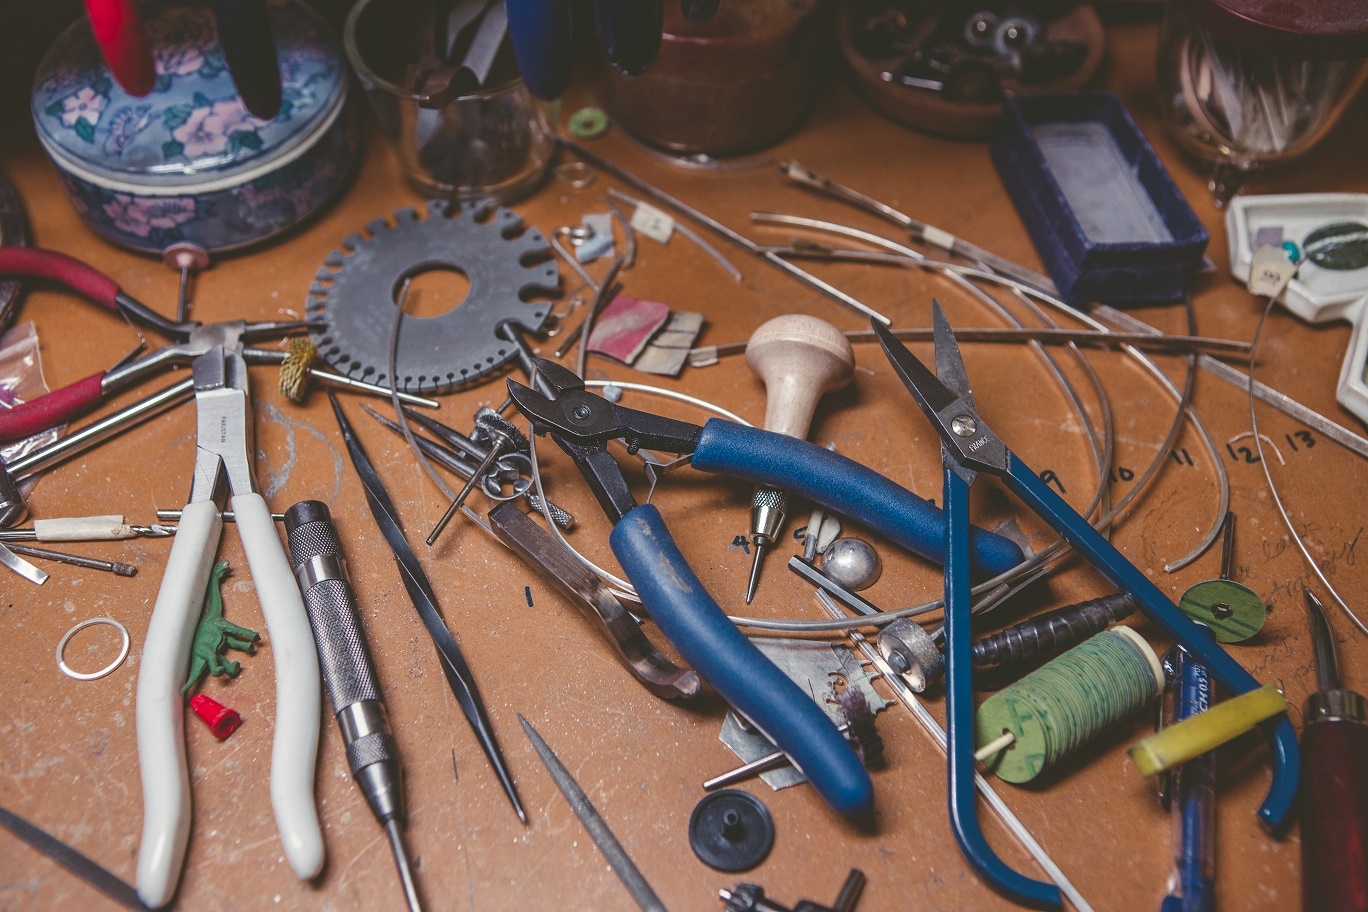
  • Buy some tools and materials. This can be a bit daunting. How do you know which tool is right? Do you get the expensive one or the cheap one? It is really all about budget. Determine what works best for you. I started out with the cheapest tools and materials, because that is all I had the money for. Some of them are still operational today, and some I have upgraded and replaced. It is always a work in progress. That said, great tools can really make a difference in saving time and making a task much easier. We now offer a beginners tool kit with everything you need to get started! Need materials? We’ve got your covered there too with our practice materials kit. Lastly, every Metalsmither has their favorite finishing tools, these are ours.

  • DO IT! Don’t be scared, you have nothing to lose. Besides, how will you know if you like it if you never try? Seriously, you have to start somewhere. Dive in head first and don’t be afraid to change your mind.

  • Find and Expert, and become their best friend. We’d love to see you at Alloy Metalsmithing. If you’re serious about becoming a maker or metalsmither our bench membership may be perfect for you! This the best way to learn from peers and experts and get access to Kelly and her team throughout your learning process. The studio is available to you 24/7, you get discounts on private lessons with Kelly, and the chance to bump into her and her team while you work. Experts and fellow makers are happy to share and pass along the knowledge they have. You could also offer to help them. I don’t know a single maker who couldn’t use an extra set of hands. Make friends with like minded creators while honing your craft, we’re not sure it gets better than that!

  • Support other makers and get inspired. Go to a craft fair. Go to meetups. Join a Facebook group. The maker community is a welcoming place full of knowledge and inspiration. Show support with your presence and if possible, your dollar. These people work hard, and by supporting them you are fostering an environment where makers are respected and can continue creating.

  • Remember, a maker is simply a person who makes something. Have fun, explore, and most importantly create what YOU want.

tools.jpeg

Sounds like pretty legit advice to me! I would add be patient; you will not be instantly amazing at your new craft and that is perfectly okay. In fact, it is the process of learning, trouble shooting and perseverance that makes being a maker so awesome.
Now get to it!
xo,

Terra

(maker of mixed media, painting, collages, baskets, textiles, wall-hangings...)

DIY Wedding Band Workshop

Author: Terra Butler

Being a metalsmith, it seemed obvious from the beginning that Kelly would make her husband's wedding ring. It only made sense that he would make hers too. After sharing the experience, Kelly decided to open up this opportunity to others and the DIY Wedding Band Workshop was born, and subsequently The Alloy Metalsmithing studio wad established so that anyone could learn or experience the art of metalsmithing.

In the DIY Wedding Band workshop, you will spend about 4 hours in the studio sawing, soldering, hammering, filing and finishing the piece of jewelry that your partner will wear daily, forever! Kelly, or another member of the Alloy Metalsmithing team, is with you every step of the way, guiding the process and ensuring that you leave with heirloom quality rings that you both will cherish for a lifetime. No prior experience necessary; this workshop is created for beginners. Rings cost anywhere from $200-$1500, depending on the metals chosen.

Maggie reached out to Kelly to purchase a ring for her husband. When Kelly presented the option for Maggie to make the ring herself, she said yes!

Uploaded by MeritMade on 2017-11-02.

Maggie Sam DIY Wedding band ring

"Ever since I was a little girl I loved working with my hands. I'm not super artistic, but always enjoyed picking up a hammer or drill to do a project. I had no idea that I would eventually be able to make my husband's ring. I was ecstatic when Kelly offered to instruct me on making his wedding band. The love and effort put into making the ring made it extra special and symbolizes my commitment to him every day!"


I asked, “Do you want to take it next level? How about you both make each other's wedding rings?” That’ exactly what Melanie and Aaron did.

"Kelly is such an amazing teacher. She is encouraging and patient. We had such a fun time every step of the way. And now we have these beautiful rings that WE MADE and will cherish forever! We loved this wonderful experience. Thanks Kelly!!!!!"

Don't let your wedding bands be just another thing on the wedding checklist. Your bands are the symbol of your union. Making them provides an experience that shopping online or at a jewelry store never will. Working with Kelly is laid-back, fun and informative. And, let's be honest, who doesn't love to play with fire?

Reach out to us with any questions and to get your workshop scheduled!

- Kelly + The Alloy Metalsmithing Team

MeritMade Lessons - What is oxidized silver?

Author: Amanda Watson

The photos below show a direct comparison between oxidized and non-oxidized silver. Oxidation of silver is simply the process of intentionally exposing silver to environmental factors that cause tarnishing. As you can see, there is a significant difference in the appearance of the two. Let's dive a little deeper...

oxidized silver sterling silver meritmade meritmadekc kc handmade kansas city merit made meritmade kc handmade jewelry art jewelry unique jewelry

The final result of the oxidation process is a very smoky looking blue grey silver that some people find appealing. The best part is that silver that has been finished in this fashion requires less cleaning and maintenance than traditionally finished silver, and further tarnishing of the surface usually results in an even more dramatic appearance. 

There are several different oxidizing solutions on the market that can be purchased specifically for the purpose of this process. Most of them require that the solution be diluted in water. Some are in gel for and can be painted on. One of the weirdest "solutions" is to use a hard boiled egg! Crazy, I know.

In our studio, we use Liver of Sulfur for the oxidation process. Liver of Sulfur is a mixture of potassium sulfide, potassium polysulfide, potassium thiosulfate, and probably potassium bisulfide. All very technical chemical terms, but dilluted correctly and heated just a bit it provides the most even and consistent finish.

oxidized silver necklace meritmade meritmadekc handmade jewelry kansas city merit made meritmade kc handmade jewelry art jewelry unique jewelrykansas city merit made meritmade kc handmade jewelry art jewelry unique jewelry

While the underlying metal is still the same material, there are some significant differences in how to care for oxidized silver as opposed to traditionally finished sterling silver. If you clean the oxidized sterling silver as you would with any other type of jewelry, you will find that it completely ruins the blackened look. 

Here's how the best method to clean oxidized silver:

  • Start by mixing warm water and washing liquid in a large bowl. I recommend "the blue" Dawn for this step as I've found it to be the best de-greaser. However, any detergent will likely work.

  • Stir the liquids together.

  • Place the silver into the bowl, moving it around occasionally.

  • Let it soak for about 20 minutes.

  • Take it out of the soapy water, and place it onto a soft towel. Gently wipe the silver with the towel, taking care not to scrub. A harsh scrubbing action could also remove the black finish.

As you can see in our shop. We often use this beautiful blue grey oxidized finish in our pieces. We love the look, and hope you do too!

Have questions? Add a comment below or send an email to kelly@meritmadekc.com.

Enjoy! Amanda

MeritMade Lessons - Favorite Vendors & Suppliers

Author: Kelly Conner

photo by Jason Dominques

I'm often asked where I get my materials, tools, and stones. In this post I'm going to share with you some of my favorites. I'll be the first to admit that this isn't something that I have researched extensively but instead have stumbled about until I found something that works for me. No guarantee that it'll work for you, but who knows ;)

Rio Grande
www.riogrande.com
What I buy: 80% of my materials and tools from here. This is my go to.
Note: Not always the cheapest, but huge selection and good quality

Fire Mountain Gems
www.firemountaingems.com
What I buy: bulk calibrated stones and packaging (kraft paper boxes)
Note: Loads of beading supplies and findings

Reactive Metals
www.reactivemetals.com
What I buy: Unique metal and unique patinas

One of a Kind
www.etsy.com/shop/oneofakindwire
What I buy: Unique Cabs
Note: HUGE selection if you visit them in person at a gem/mineral show

Jules Borel
www.julesborel.com
What I buy: Jewelers Bench!
Note: based in KC. Purchased items can be picked up to avoid shipping costs

Otto Frei
www.ottofrei.com
What I buy: Jewelry Kits - Great price and the right tools (not bloated with a bunch of stuff you don't need)

Hiles Plating
hilesplating.com
What I buy: Gold and Silver Plating
Note: based in KC

Arroks Rocks
www.etsy.com/shop/ArroksRocks
What I buy: Good quality unique materials - Cabs

Cool Tools
www.cooltools.us
What I buy: Stencils and freeform (non-calibrated) Stones
Note: They have a ton of PMC (precious metal clay) stuff

Hauser Miller
www.hauserandmiller.com
What I buy: Nothing currently, but I would like to start using them for my metal
Note: Based in STL and I have heard really good things about the quality of their metal.

Metalliferous
www.metalliferous.com
What I buy: Brass

Stuller
www.stuller.com
What I buy: Gold and Faceted Stones

Photo credit: Foter.com

Photo credit: Foter.com

Honestly the best way to get stones is to buy them in person. I highly recommend going to gem & mineral shows. You will not be disappointed. Here in Kansas City, we have a twice yearly show that has great stone cutters and lapidary artists selling their wares. You can also find jewelry tools, findings, crystals, display materials, and all kinds of other goodies. I'e been to the HUGE Tuscon show once, and can't wait to get back. I've also heard great things about the Denver show, but have never been. 

Don't overlook the small shows! I've found that these can be some of the best. I got a chance last year to the go to the Tri-State Gem & Mineral Show in Joplin. Let me start off by saying that there wasn't a huge selection, but what was there was very reasonably priced. Also you'll meet some of the most interesting people with the BEST stories. There is nothing quite like chatting with the rockhounds that both found and cut the material. 

Kansas City Gem & Mineral Show
www.showsofintegrity.com
www.kcgemshow.org
Held in March and November

Tuscon Gem & Mineral Show
www.tgms.org
Held in February

Tri-State Gem & Mineral Show
Joplin Historical & Mineral Museum (504 S. Shifferdecker Ave., Joplin, MO)
Sept 22-24 2017 - Fri. 10-6, Sat. 10-6, Sun. 10-3
Contact Chris Wiseman (417)-623-1180 jmc-cwiseman@sbcglobal.net


Hopefully you found some of this information helpful. If you want more of my recommendations, you might check out THIS blog post about tools needed to get started silversmithing.

What are some of your favorite vendors and suppliers?! I would love to expand my list. 

xo - Kelly